 Azure DevOps
This page describes how to use Azure DevOps to create a CI/CD pipeline for your Kestra flows.
Setup an Azure DevOps Pipeline
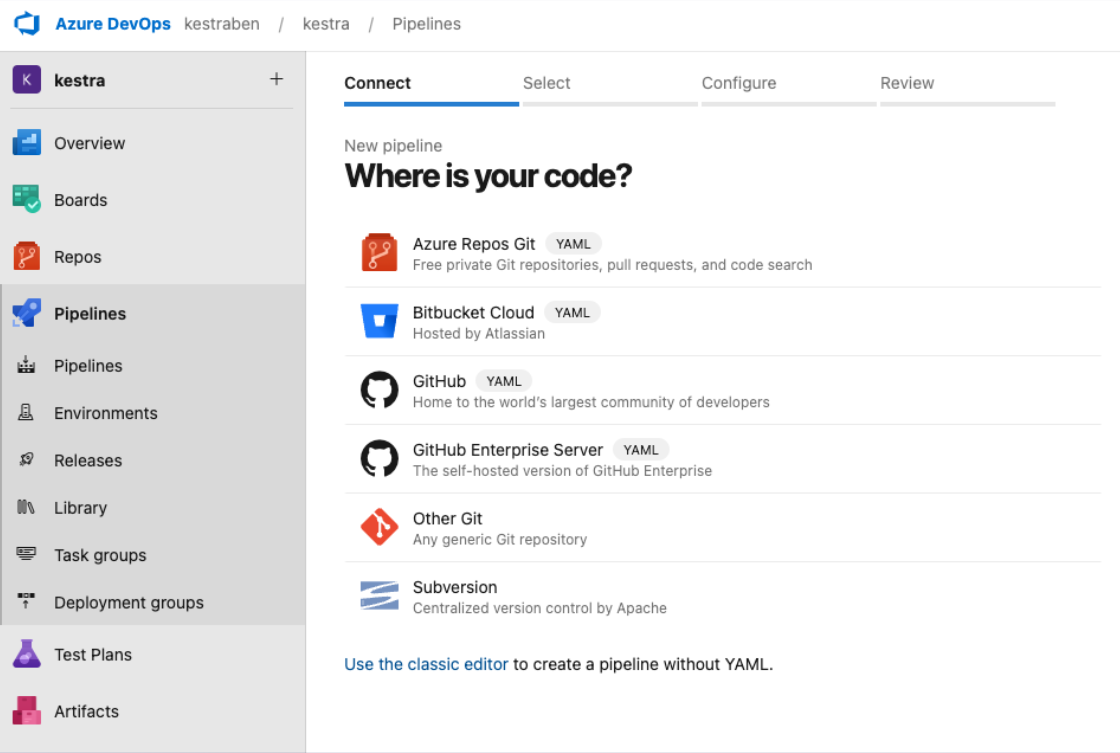
- To create an Azure Devops Pipeline, first connect to your code repository. You can choose from several providers such as GitHub, Azure Repos Git or Bitbucket.

- Then, choose the repository where your Kestra flows are located.
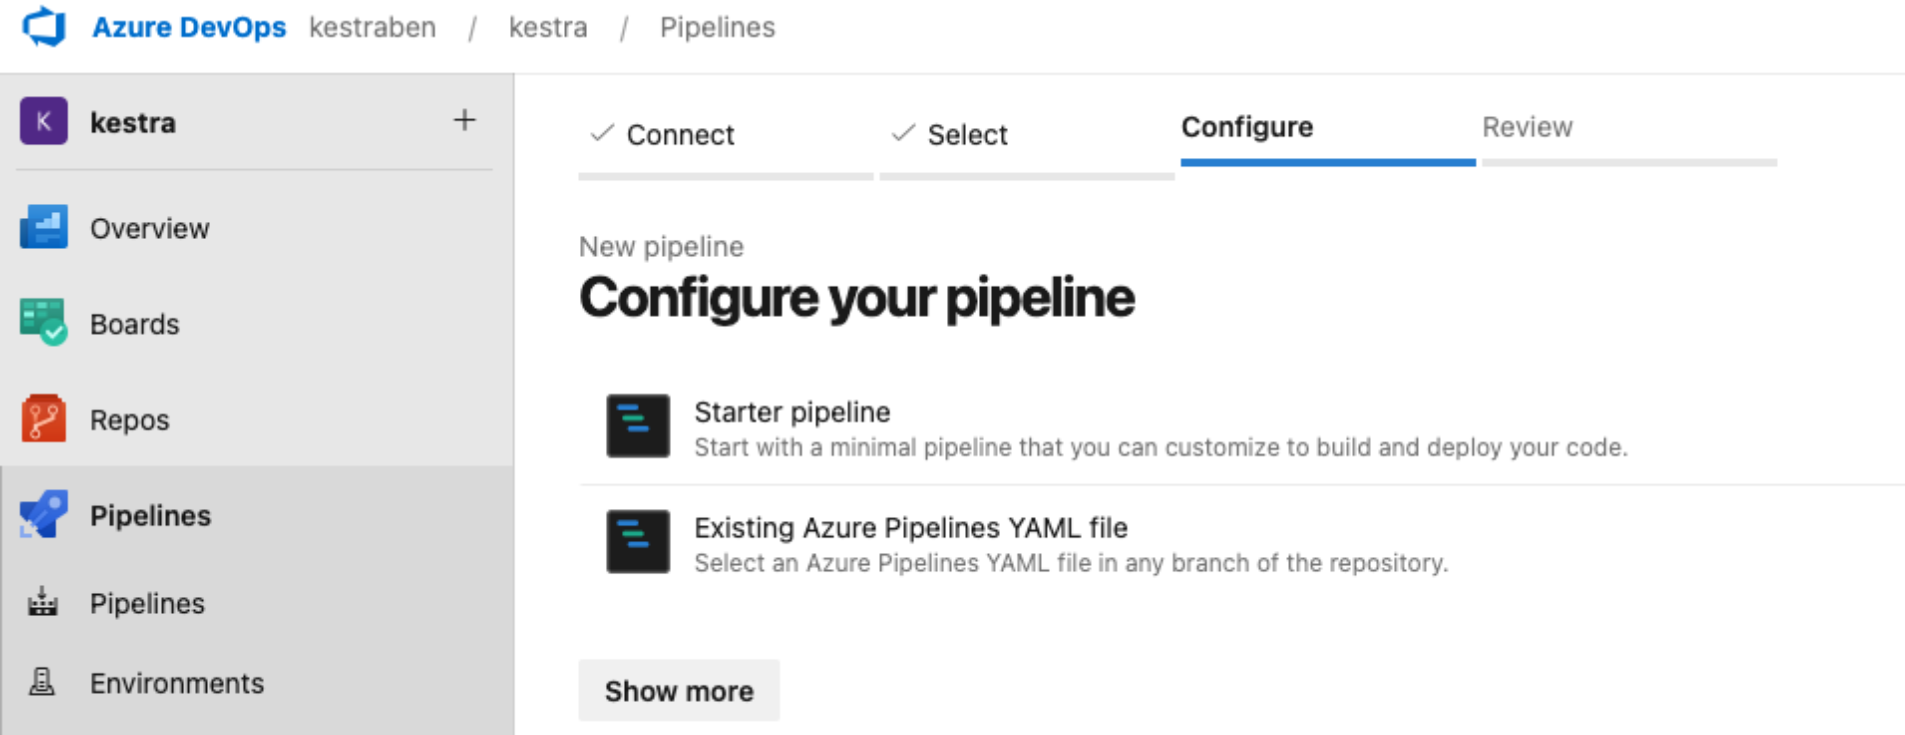
- Start with a minimal pipeline template or use an existing one.

- Consider the following pipeline:
yaml
trigger:
 branches:
   include:
     - main

pool:
  name: test-pool

stages:
  - stage: tfvalidate
    jobs:
      - job: deploy
        continueOnError: false
        steps:
          - task: TerraformInstaller@1
            inputs:
              terraformVersion: 'latest'

          - task: TerraformTaskV4@4
            inputs:
              provider: 'aws'
              command: 'init'
              backendServiceAWS: 'aws_s3'
              backendAWSBucketName: 'eu-north-1'
              backendAWSKey: 'kestra-tf'

          - task: TerraformTaskV4@4
            inputs:
              provider: 'aws'
              command: 'validate'

          - task: TerraformTaskV4@4
            inputs:
              provider: 'aws'
              command: 'apply'
              environmentServiceNameAWS: 'aws_s3'
- The pipeline is triggered whenever the
mainbranch is updated, so when you merge a PR into themainbranch, the pipeline will run - Choose a pool created beforehand. Check the official Azure DevOps documentation to create and manage agent pools
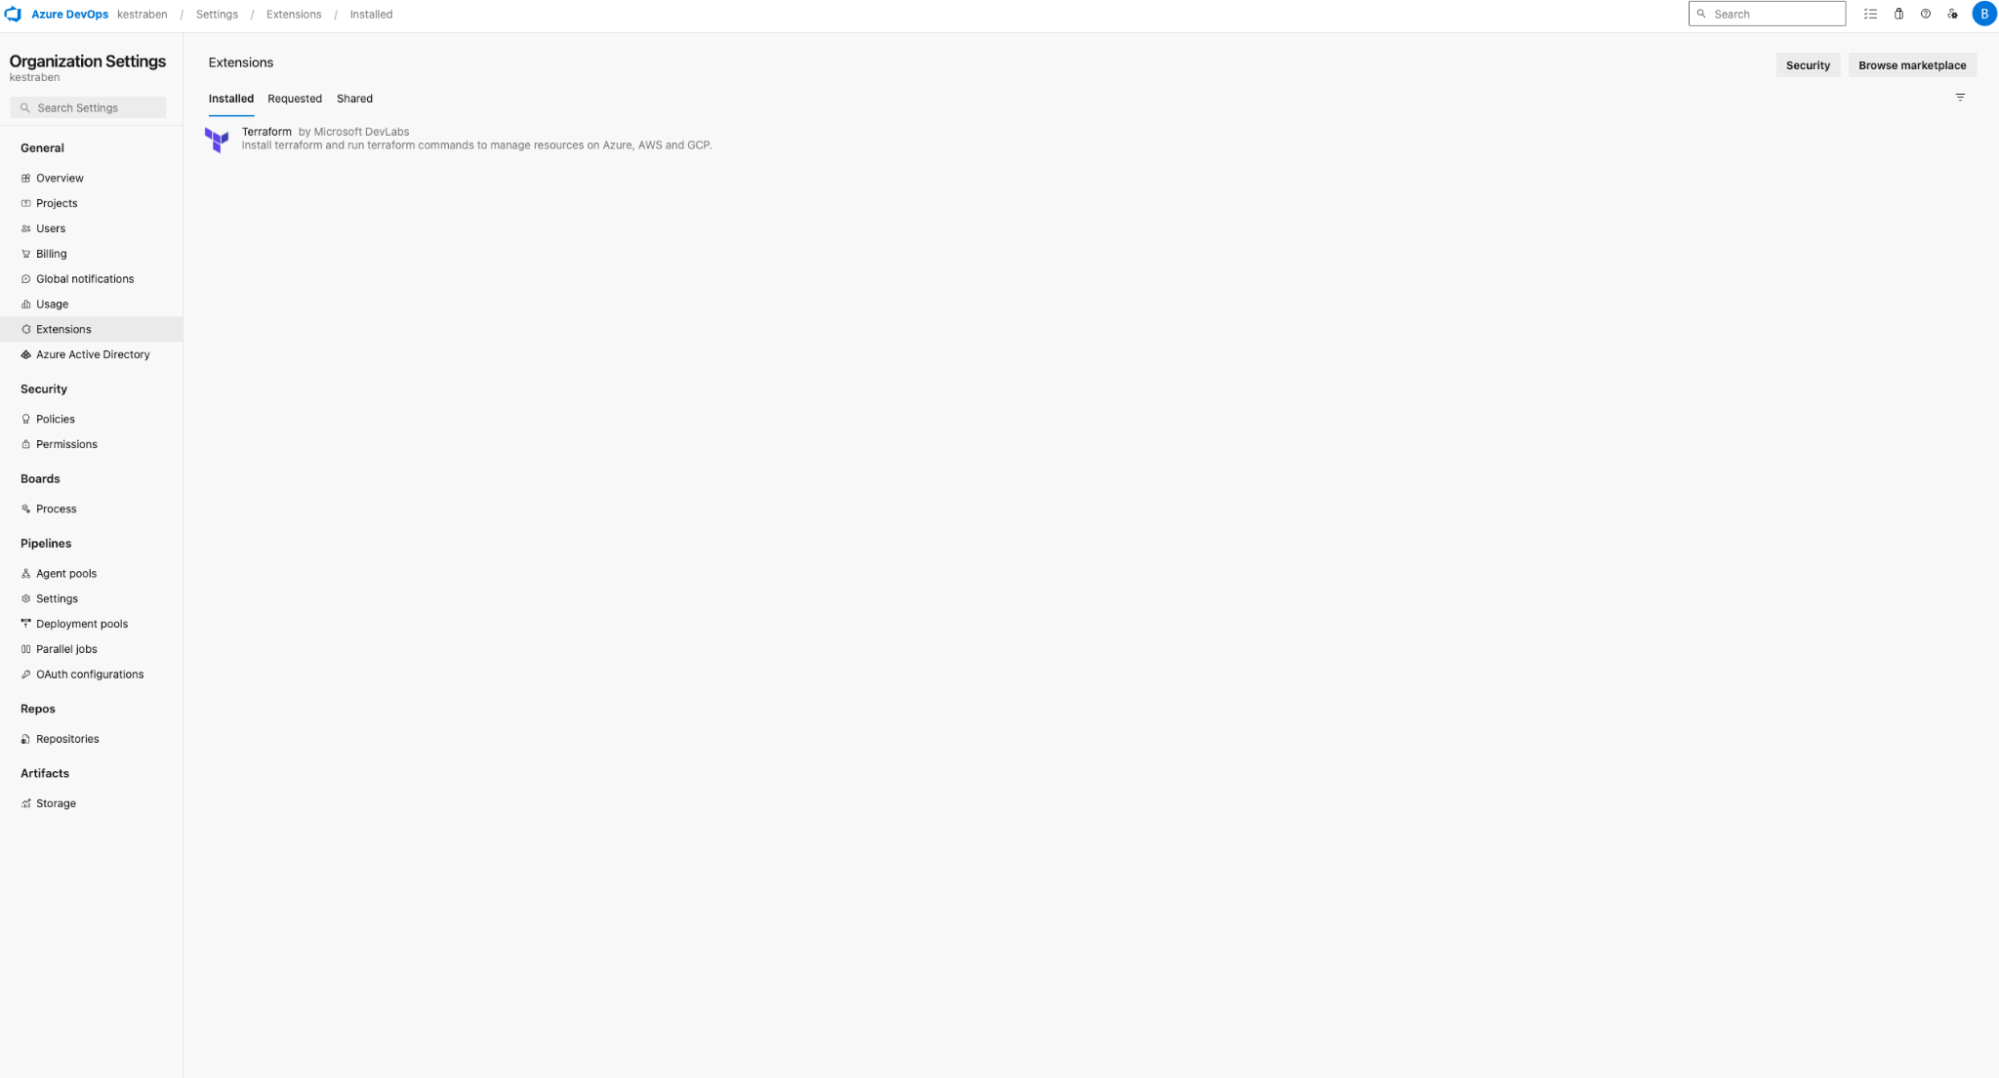
- Use the Terraform extension to install, validate, and apply Terraform resources. You can install the Terraform extension task by navigating to the Organization Settings > Extensions and then browse the marketplace to install the Terraform extension.

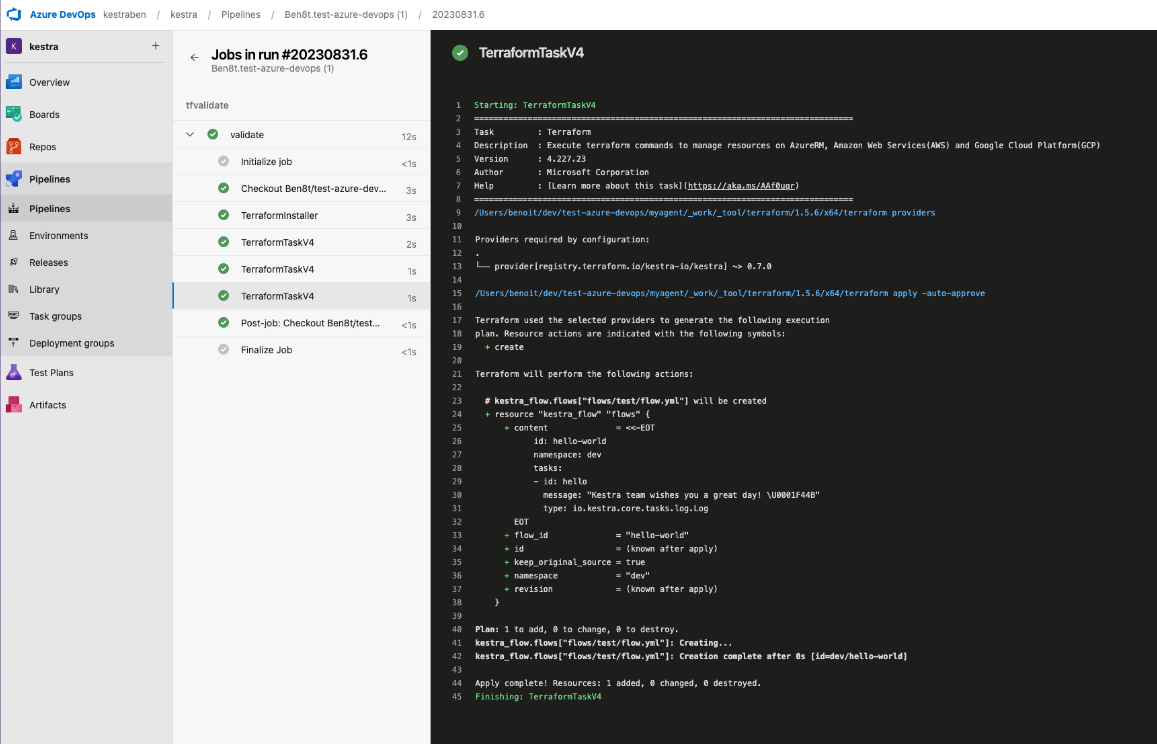
The first task is to use the TerraformInstaller@1 to install Terraform when the pipeline runs. Then, we use the `TerraformTaskV4@4`` three times:
- run the `init`` command. Here, we use an AWS S3 bucket for the Terraform backend, but you can use either Azure RM backend, AWS, or GCP
- run the `validate`` command, which will check whether the configuration is syntactically valid and internally consistent
- run the `apply`` command to execute the actions proposed in the Terraform plan

You can find the specification of the Kestra Terraform provider in the corresponding documentation
Was this page helpful?